Volumes
Volumes provide a way to keep data even after a workload (e.g., a Notebook or a ModelService) is restarted or deleted. They also allow different workloads to share data (with storage providers that supports ReadWriteMany access mode). Volumes are usually connected to host paths and managed by storage providers through a StorageClass.
When setting up a workload that needs persistent storage, you can choose the StorageClass and specify the volume size in the configuration. LLMOS includes built-in StorageClasses like local-path, llmos-ceph-block, and llmos-ceph-filesystem, which let you create volumes on demand.
- The
local-pathStorageClass doesn't support resizing volumes or assigning them to specific nodes. - To use the
llmos-ceph-blockorllmos-ceph-filesystemStorageClasses, you must first enable the Ceph Cluster in your cluster.

Create a Volume
When creating a workload like Notebook or ModelService, you can choose to use Add New Volume to automatically create new volumes along with the workload.
But if you want to create a volume manually, you can follow these steps:
- Go to the LLMOS Management > Storage > Volumes page.
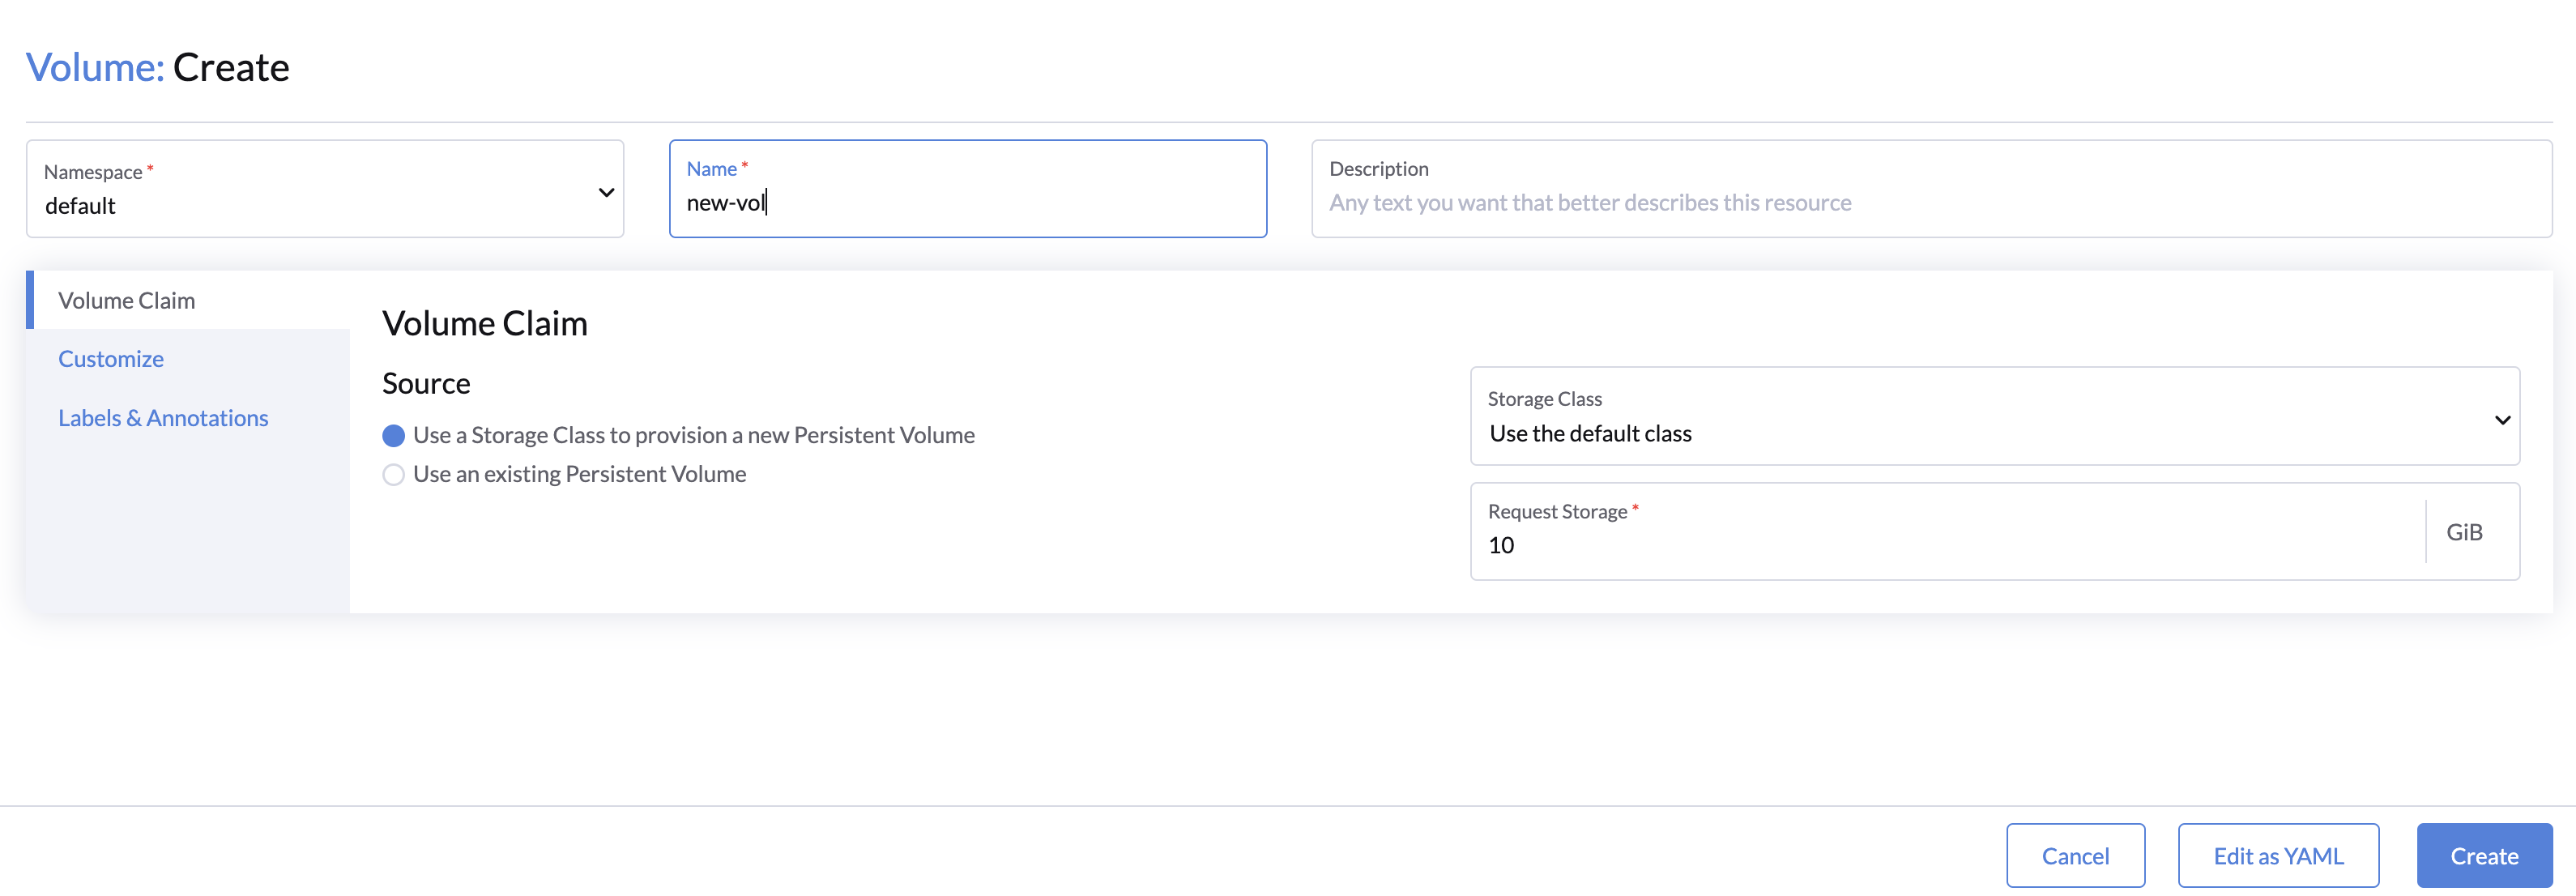
- Click Create to create a volume.
- Specify the volume name, storage class, and size.
- On the Customize tab, you can specify the volume access mode.
- Single Node Read-Write: The volume can be mounted by only one workload at a time.
- Many Nodes Read-Only: The volume can be mounted by multiple workloads, but the workloads can only read the volume.
- Many Nodes Read-Write: The volume can be mounted by multiple workloads at the same time.
- Click Create to create the volume.

Storageclass with Supported Access Mode
| Storage Class | Single Node Read-Write | Many Nodes Read-Only | Many Nodes Read-Write |
|---|---|---|---|
| local-path | ✅ | ❌ | ❌ |
| llmos-ceph-block | ✅ | ❌ | ❌ |
| llmos-ceph-filesystem | ✅ | ❌ | ✅ |
Resize a Volume
To resize a volume, you can follow these steps:
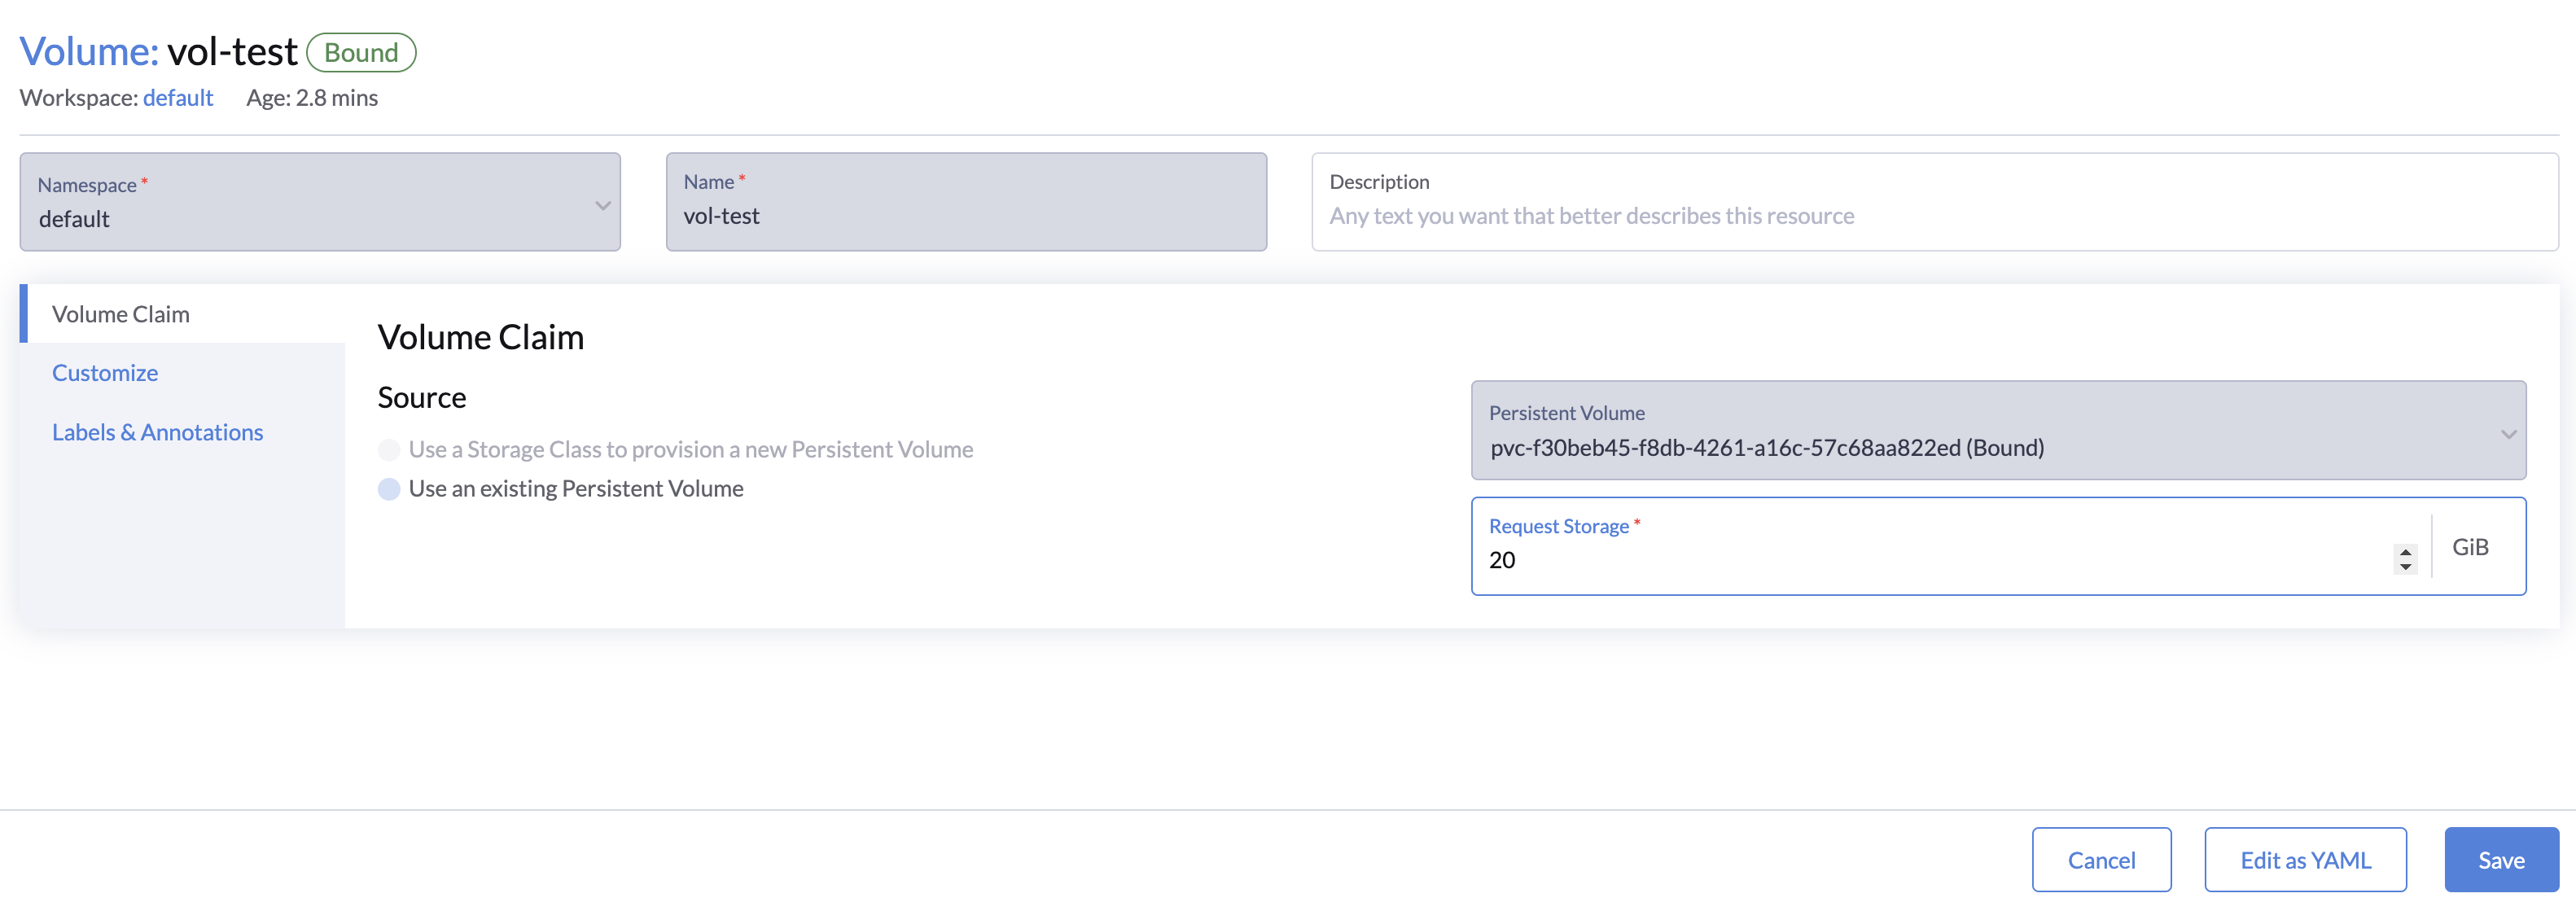
- Go to the LLMOS Management > Storage > Volumes page.
- Click the ⋮ > Expand button of the volume you want to resize.
- Specify the new size and click Save.
- The volume will be resized automatically in the background.
The resize operation may take some time, so please be patient.
Storage providers may not support resizing volumes (e.g., local-storage). If you encounter any issues, please check with the storage provider.

Delete a Volume
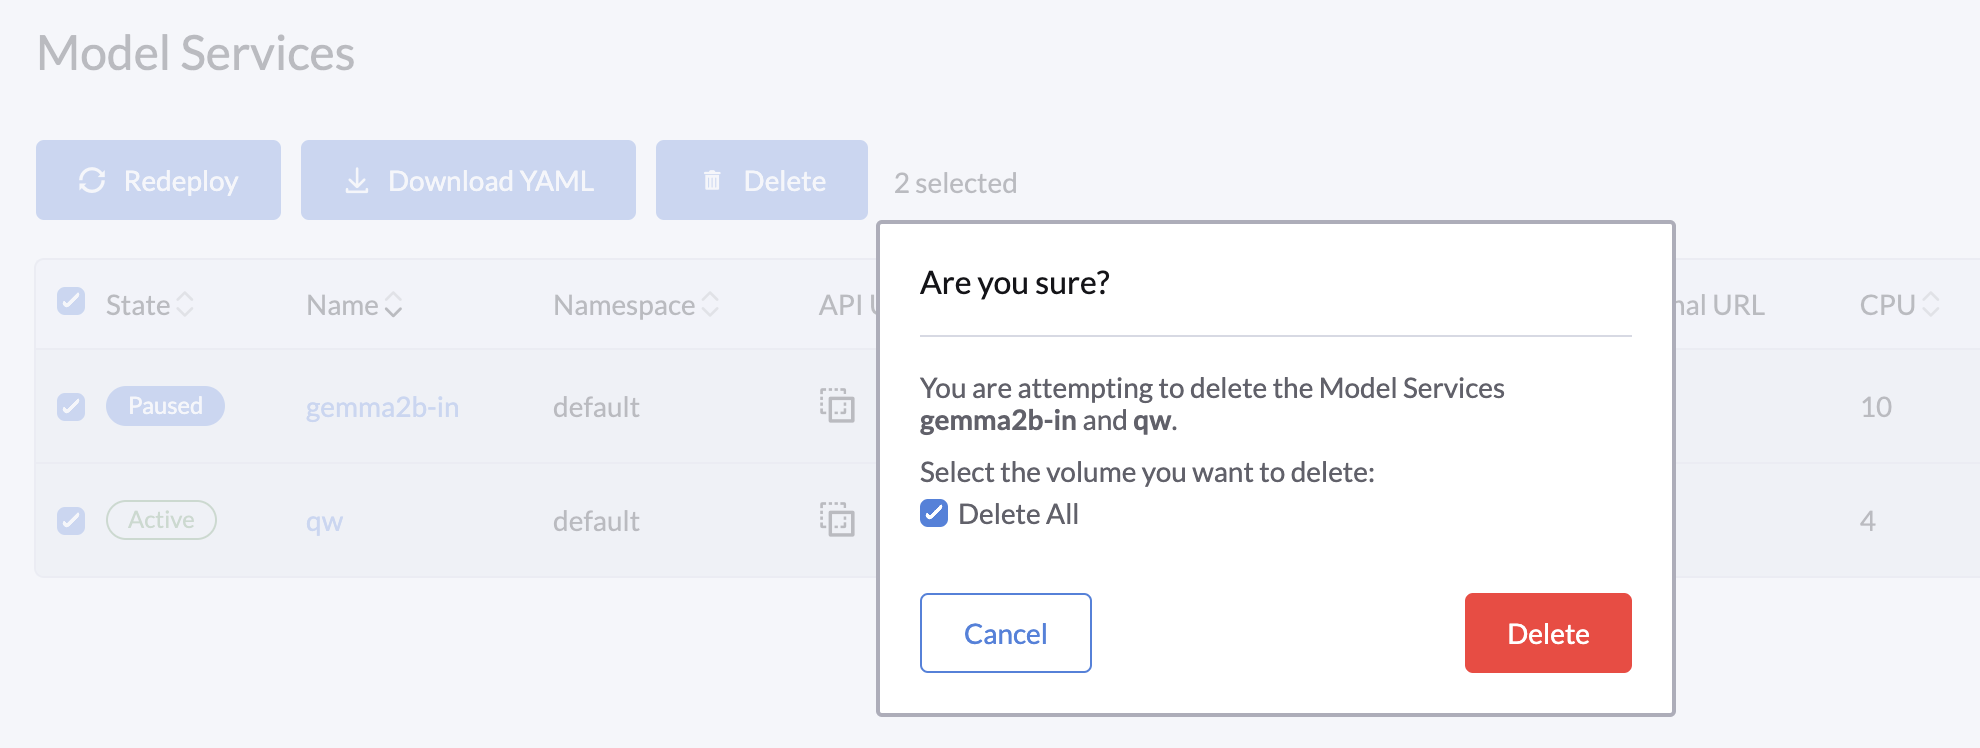
By default, volumes are deleted when the workload is removed. However, if you want to keep the volumes, you can choose to keep the volumes when deleting the workload.
You can check those volumes in the Volumes page and click the ⋮ > Delete button to delete the volume.
