System Storage
LLMOS has two built-in storage options:
- Local Path Storage: This is a basic storage service that saves data on the host machine. It's best for testing or single-node setups, but it doesn't support high availability (HA) or fault tolerance.
- Ceph Cluster Storage: This is a distributed storage service offering high availability and data fault tolerance. It supports block and filesystem storage, making it suitable for medium to large production environments.
Note: Ceph storage isn't enabled by default. You'll need to turn it on and ensure your cluster has enough resources(minimum 4 vCPUs and 8 GB RAM). See the device prerequisites below.
Ceph Prerequisites
Before setting up Ceph storage, you'll need one of these local storage types:
- Raw devices (no partitions or filesystems)
- Raw partitions (no filesystems)
- LVM Logical Volumes (no filesystems)
- Persistent Volumes from a block mode storage class
To check if your devices or partitions have filesystems, run:
$ lsblk -f
Look for the FSTYPE field. If it's empty, the device is available. In the example below, vdb is available, but vda has a filesystem and isn't usable.
NAME                  FSTYPE      LABEL UUID                                   MOUNTPOINT
vda
└─vda1                LVM2_member       >eSO50t-GkUV-YKTH-WsGq-hNJY-eKNf-3i07IB
  ├─ubuntu--vg-root   ext4              c2366f76-6e21-4f10-a8f3-6776212e2fe4   /
  └─ubuntu--vg-swap_1 swap              9492a3dc-ad75-47cd-9596-678e8cf17ff9   [SWAP]
vdb
For more details, see Rook Ceph Prerequisites.
Enabling Ceph Storage
If Ceph storage isn't enabled, you'll see a notification on the Home page. Click the Enable link to go to the setup page.

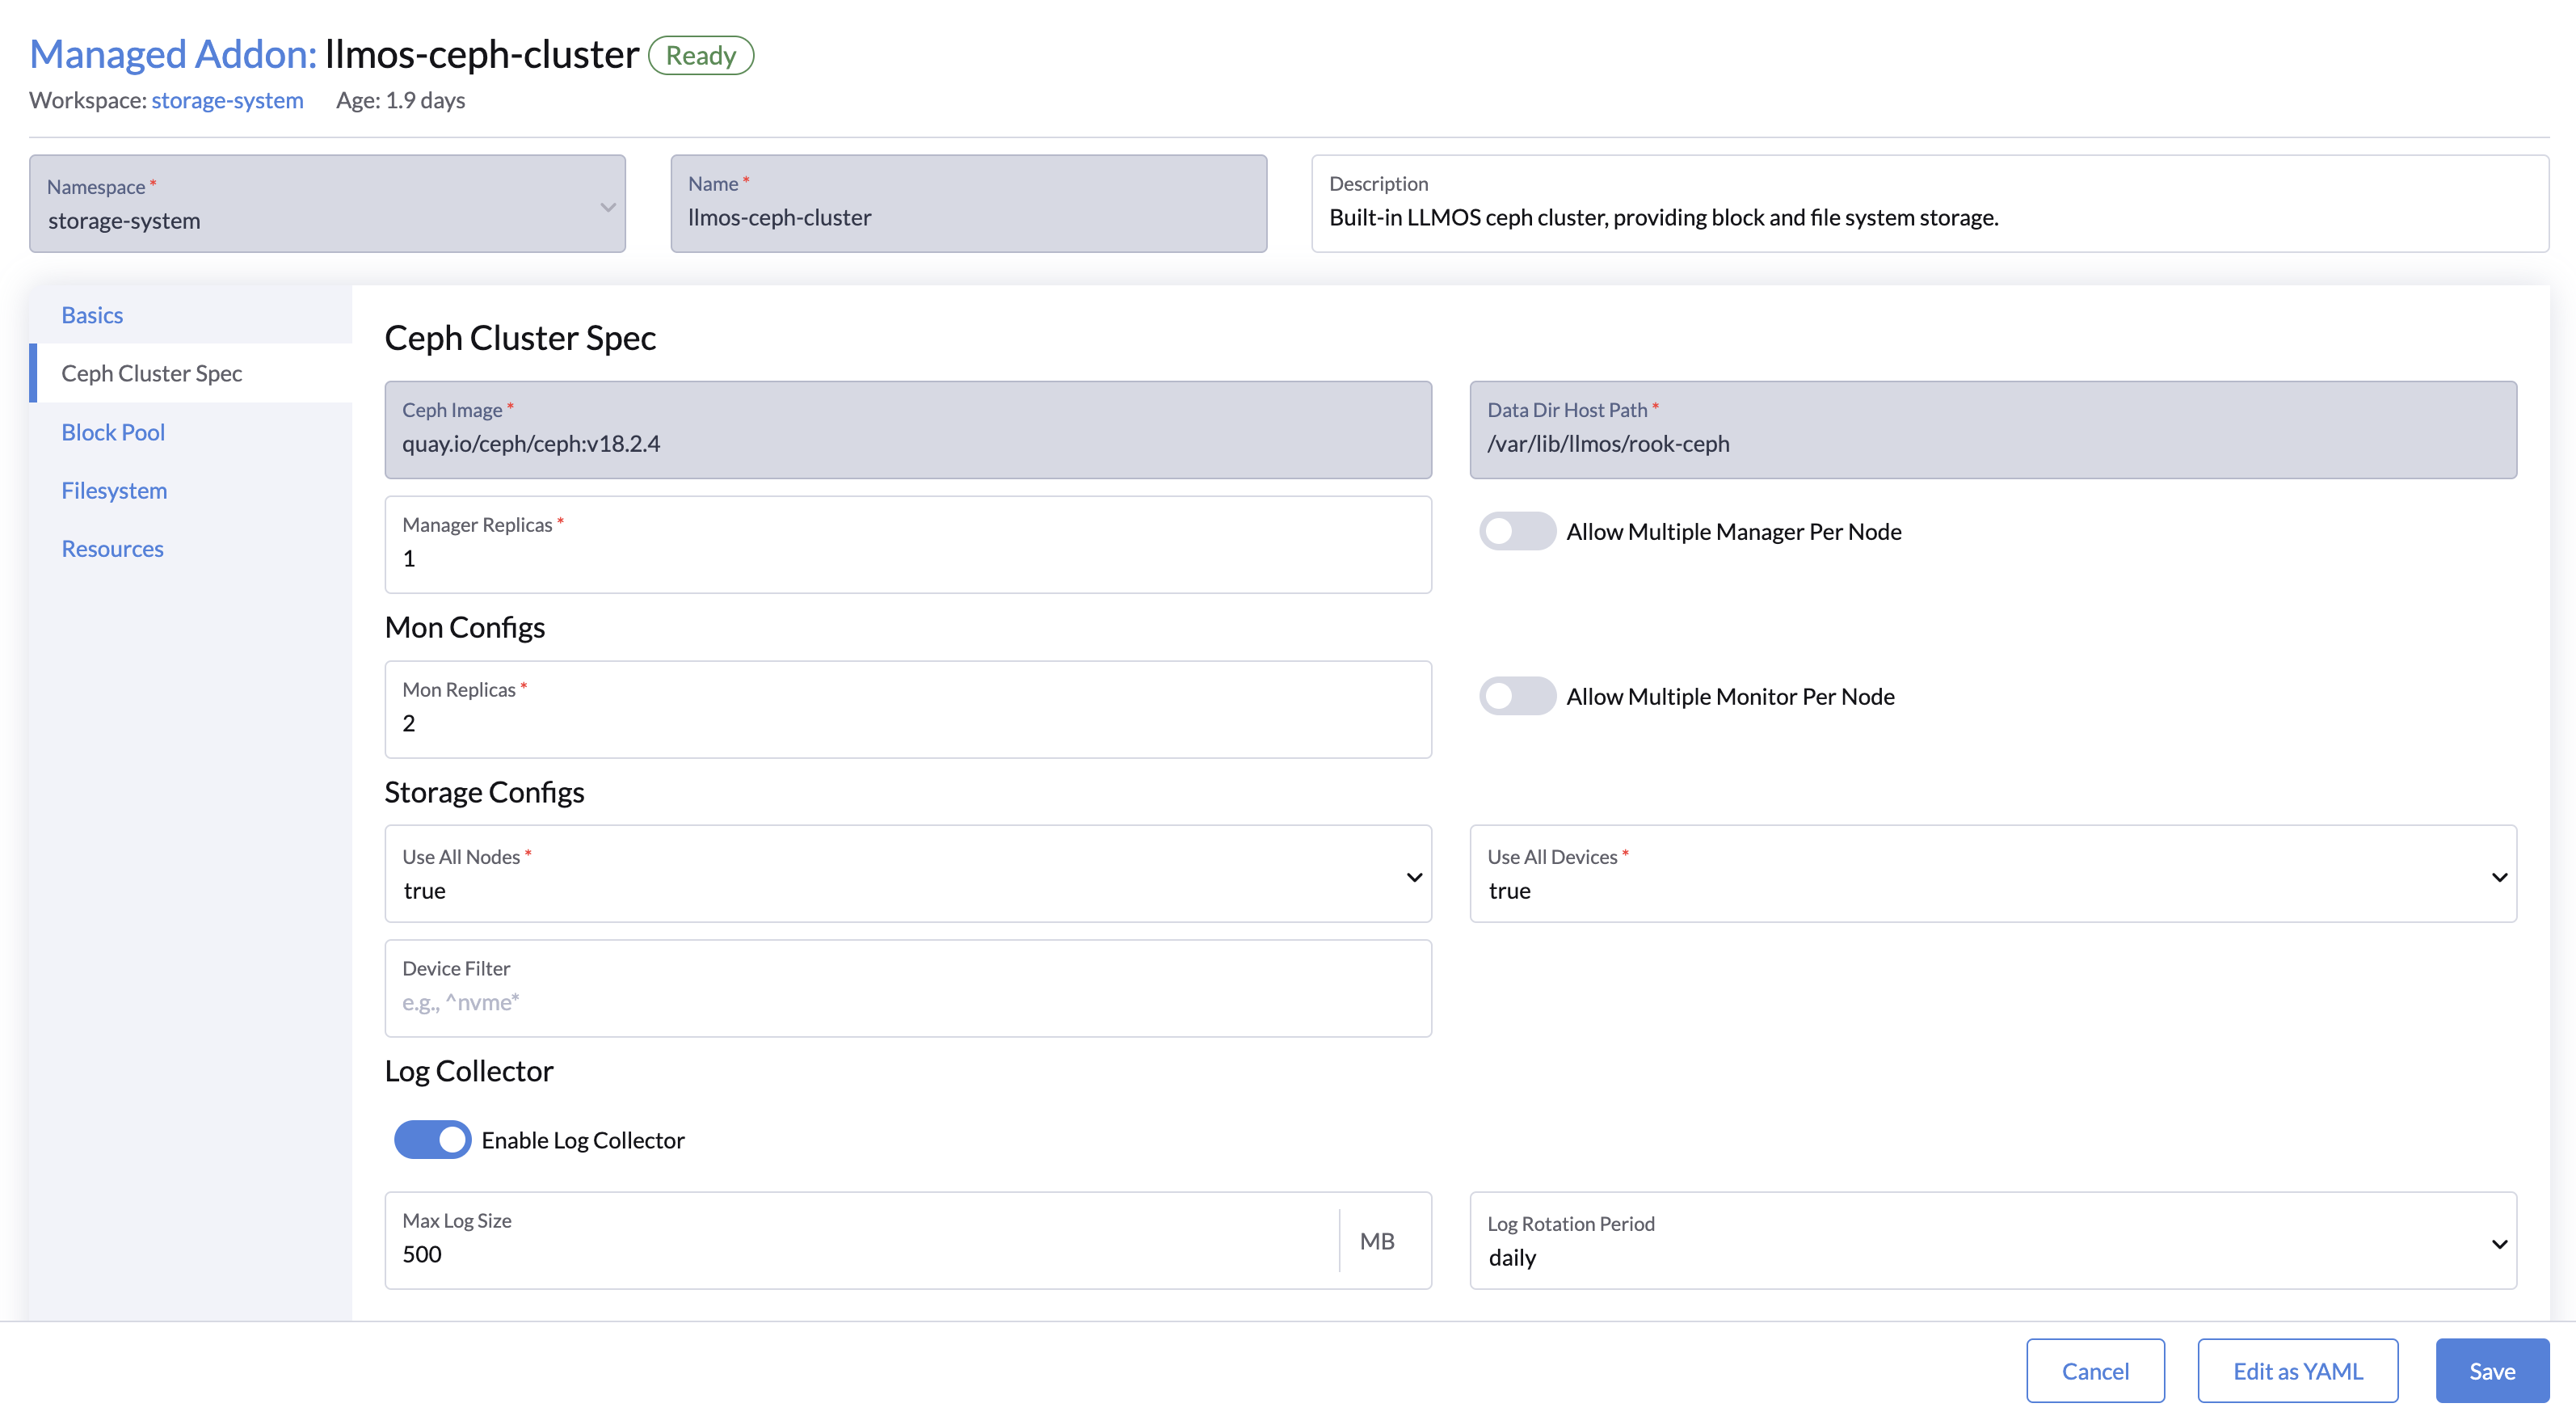
You can configure the Ceph cluster by setting up block pools, filesystems, and other options. Once done, click Save to enable Ceph storage.
The default settings should work for most users. You can refer to the Ceph Cluster Configuration if you need more details.

Wait for the Ceph cluster to reach Ready status. You can check the status of the Ceph Block Pool and Filesystem in the Storage section.
If you don't see the Ceph cluster, try selecting All Namespaces from the top navigation bar.


Once Ceph is ready, you can use the llmos-ceph-block or llmos-ceph-filesystem StorageClass to create volumes or workloads that need persistent storage.
Ceph Toolbox
The Ceph toolbox is a container with tools for troubleshooting and testing. To access it:
- Go to Storage > Ceph Management > Ceph Clusters and click
Execute Toolboxnext to the llmos-ceph cluster.
- This opens a new window where the toolbox pod runs in the background. You can use tools like:
ceph status
ceph osd status
ceph df
rados df
Disabling Ceph Storage
All data will be deleted after the Ceph Cluster is removed. Make sure you have a backup before disabling Ceph storage.
Before turning off Ceph, ensure all workloads using it are deleted and their volumes are detached:
- Delete all workloads using Ceph storage.
- Go to the Volumes page and confirm that all volumes using the Ceph storage are removed.
- Then, go to Managed Addons and click
Disablenext to llmos-ceph-cluster. - Click
Saveto finish.

Deleting Data from Hosts
To fully clean up, delete files from each host in the cluster. Remove everything under the /var/lib/llmos/rook-ceph directory to avoid issues when re-enabling Ceph later.
Zapping Devices
To reset disks used by Ceph:
DISK="/dev/sdX"
sgdisk --zap-all $DISK
dd if=/dev/zero of="$DISK" bs=1M count=100 oflag=direct,dsync
blkdiscard $DISK
partprobe $DISK
If LVM or device mapper data prevents reusing drives, try:
ls /dev/mapper/ceph-* | xargs -I% -- dmsetup remove %
rm -rf /dev/ceph-*
rm -rf /dev/mapper/ceph--*
If drives are still locked, a reboot may help.
For more information, please check the Rook Ceph Cleanup guide.