Notebooks
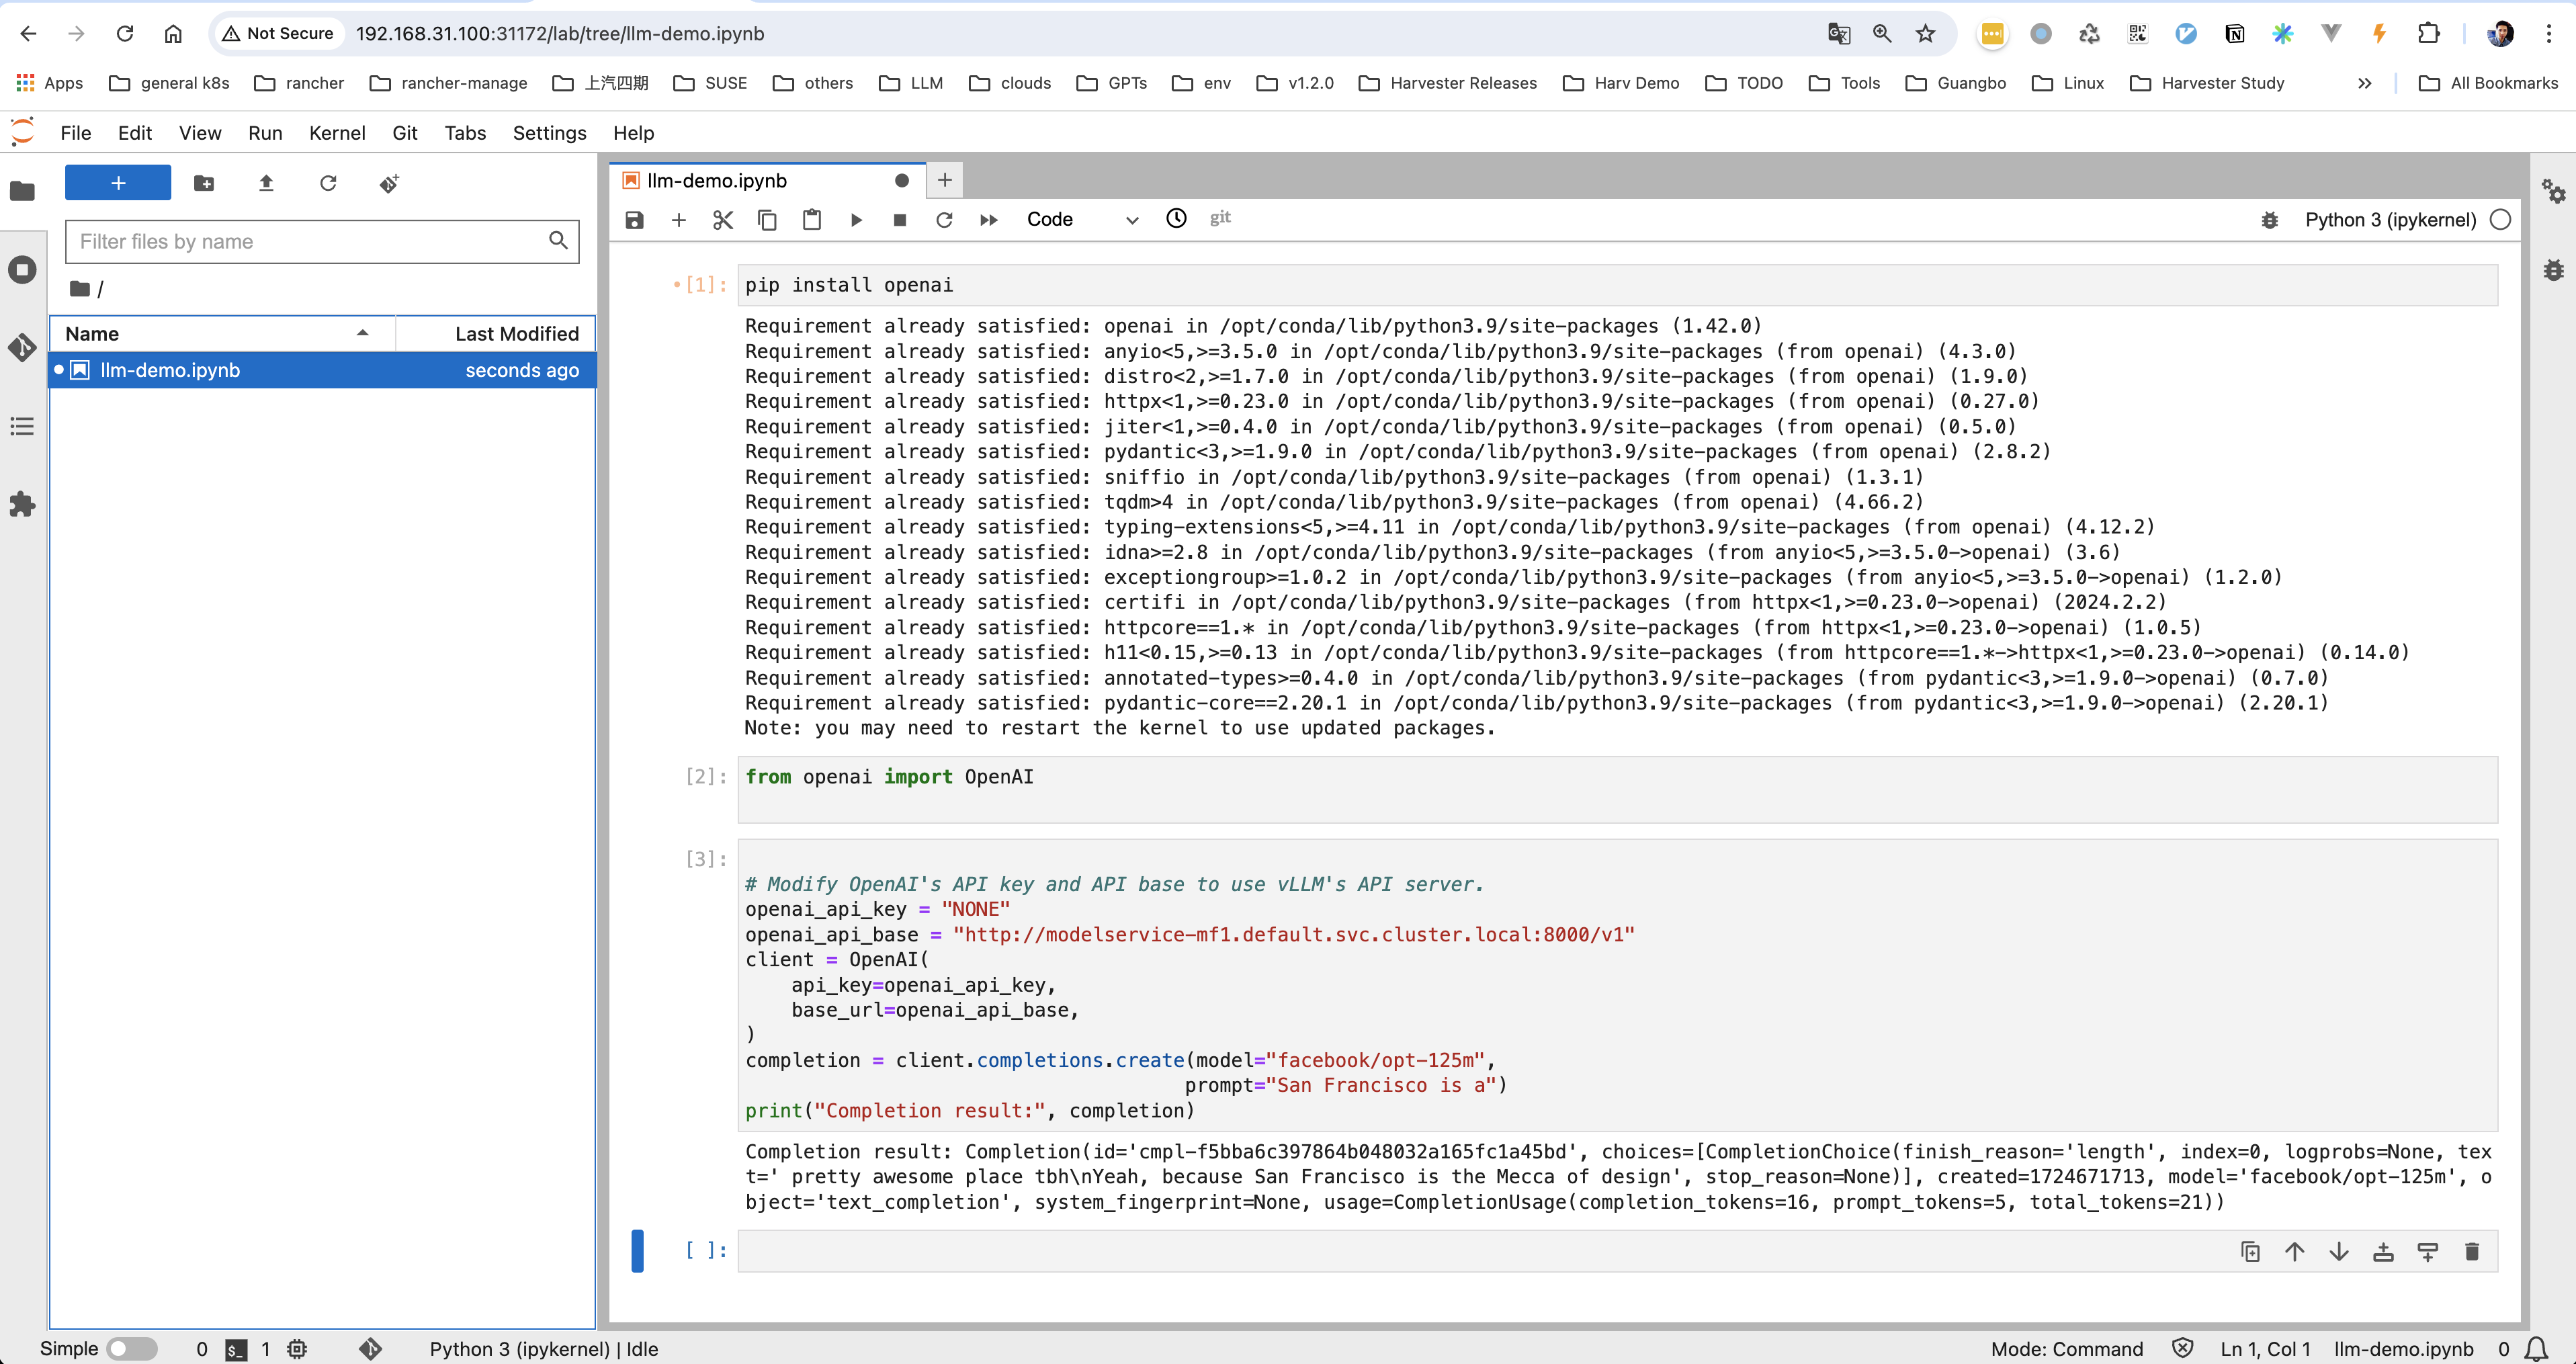
Notebooks offer a way to run lightweight web-based development environments of JupyterLab, RStudio, and VS Code within your LLMOS cluster, where you can run interactive code, data analysis, and machine learning tasks.
With notebooks, you can easily create and manage lightweight notebook environments, providing a seamless and efficient development experience. Here's what you can do with notebooks:
- Native Application Support: Seamlessly run native JupyterLab, RStudio, and Visual Studio Code (code-server) with an independent environment.
- Cluster-based Notebooks: Create and manage lightweight notebook containers directly in the cluster, eliminating the need to run them locally on your latop.
- Standardized Notebook Images: Administrators can provide pre-configured notebook images with required packages pre-installed, ensuring consistency across the organization and teams.
- Access Control: Notebook access is managed through RBAC, allowing for streamlined and secure sharing of notebooks across the organization or team.

Create a Notebook
Getting started with notebooks is easy.
- Open the LLMOS Dashboard in your browser and go to the LLM Management > Notebooks page.
- Click Create in the top right corner.
- Select notebook type and the image you want to use for your notebook server.
- Specify the name, namespace, resources and persistent storage(volume) setting of your notebook server.

- Click Visit to visiting your notebook server once it has been provisioned.


- the default workspace is
/home/jovyan
Notebook Images
LLMOS currently provides three types of notebook images for you to choose from, but you can easily add your own images via the default-notebook-images setting:
Packages installed by users after spawning the notebook server will only last the lifetime of the Pod restart, to ensure packages are preserved throughout Pod restarts you will need to either:
- Build custom images that include them, or
- Ensure they are installed in a persistent volume backed directory